Overview
In this project, we added additional features to the ray tracer from Project 3-1. Specically we implemented Part 1: Mirror and Glass Materials and Part 4: Depth of Field.
Part 1. Mirror and Glass Materials
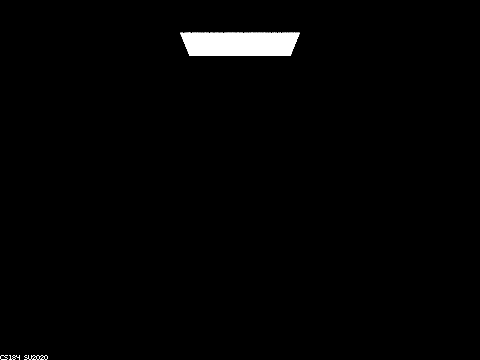
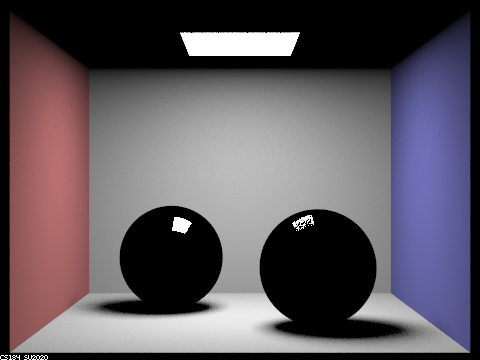
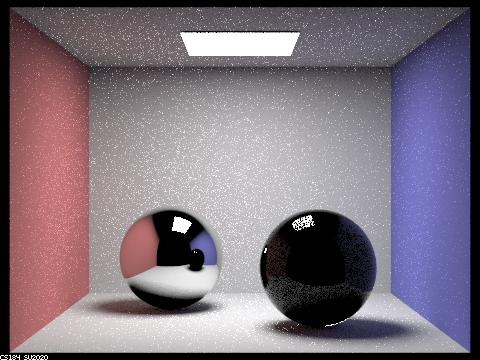
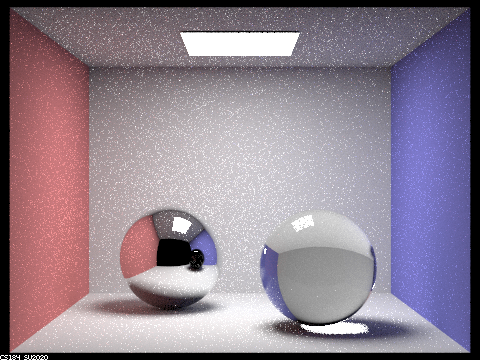
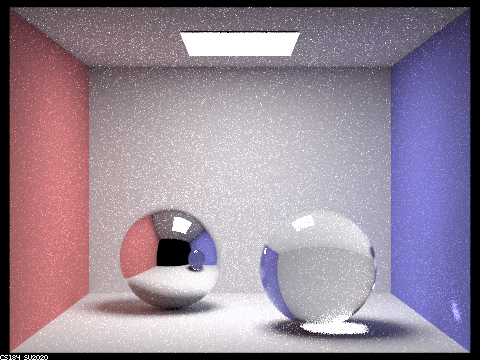
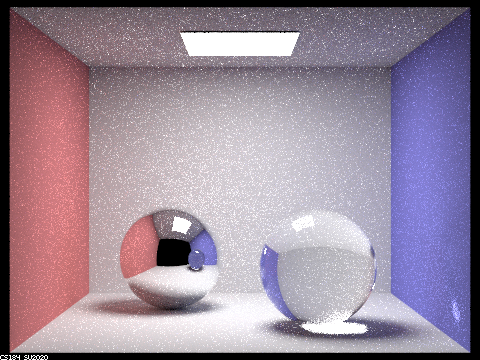
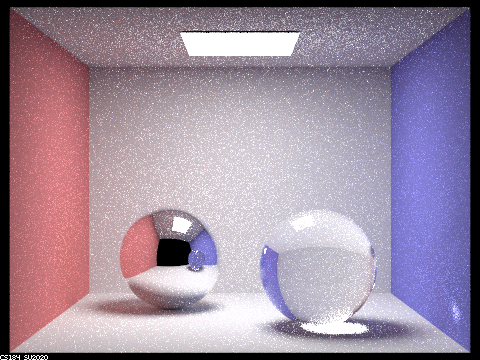
Show a sequence of six images of scene `CBspheres.dae` rendered with `max_ray_depth` set to 0, 1, 2, 3, 4, 5, and 100. The other settings should be at least 64 samples per pixel and 4 samples per light. Make sure to include all screenshots.
|
|
|
|
|
|
Point out the new multibounce effects that appear in each image.
The render that only involves one bounce represents direct illumination, meaning that the left specular sphere only reflects the area light source, while the rays incident on the sphere from other points in the scene create ray paths with more than one bounce. The right transmissive sphere also reflects the area light source, but it is dimmer and noisier due to the probabilistic approach used to approximate partial reflection and refraction governed by the Fresnel reflection.
In the two-bounce render, the diffusive elements of the scene are reflected in the specular sphere on the left. Interestingly, the reflection of the left sphere shows that the right transmissive sphere appears black while the right sphere itself appears cloudy yet reflective, because any ray paths going from the diffusive surroundings, reflecting off of the right sphere, and subsequently reflecting off the left sphere involve three bounces.
The three-bounce render provides a more accurate representation of the right transmissive sphere in the reflection of the left sphere. It also features a bright spot below the transmissive sphere, where the refracted rays from the area light source have converged and reached the ground. Lastly, the right sphere shows a warped portion of the blue wall that is inverted horizontally and vertically, as is typical of refractive glass spheres.
In the four-bounce (and more) render, the most notable new element is the bright spot on the blue wall, which is the image of the area light source reflected in the left sphere.
Explain how these bounce numbers relate to the particular effects that appear. Make sure to include all screenshots.
Please see images and responses above for commentary on the effects related to the bounce.
Part 4. Depth of Field
In a few sentences, explain the differences between a pinhole camera model and a thin-lens camera model.
The pinhole camera model is a basic way to understand how a camera works. It represents a camera as a box with a tiny hole on one side that light travels through to create an upside-down image on the other side. On the other hand, the thin-lens camera model is more advanced and uses a lens to create the image. It's a more realistic and accurate way to model how cameras work and considers features such as focal length, aperture, and depth of field. This model is widely used in modern camera systems.
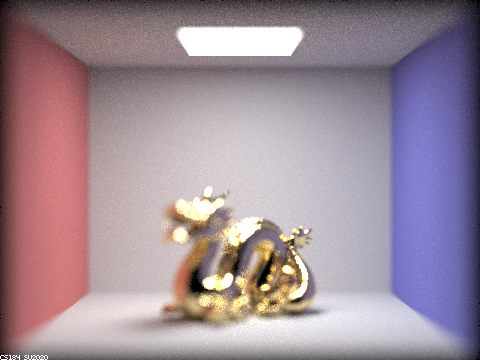
Show a "focus stack" where you focus at 4 visibly different depths through a scene. Make sure to include all screenshots. (-s 256 -m 4 -l 4 -b 0.23)
|
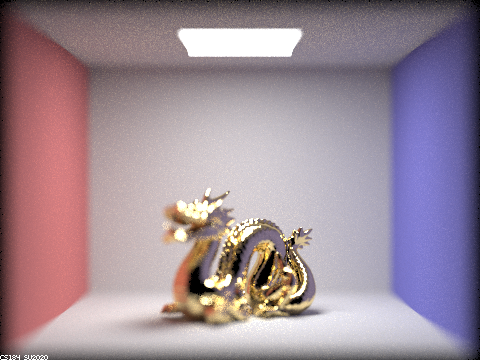
|
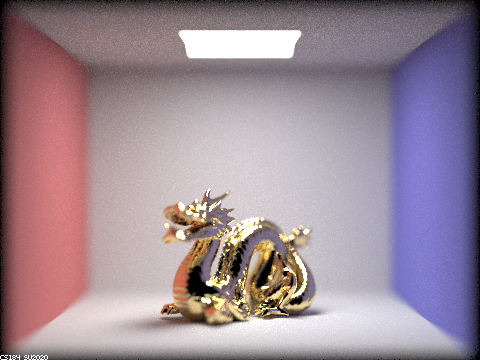
|
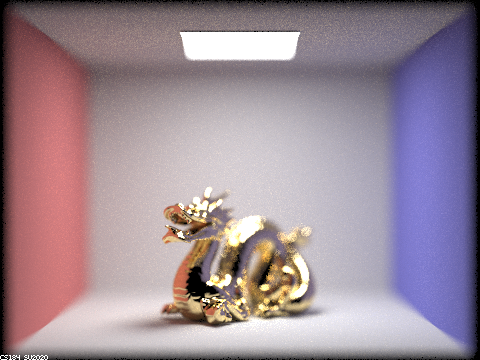
|
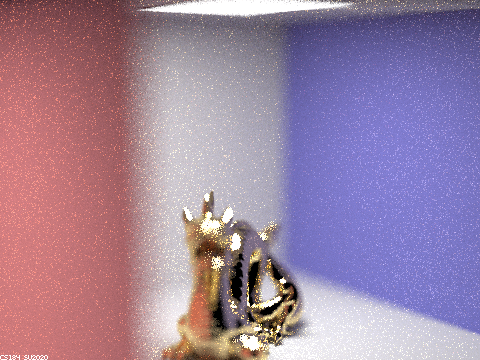
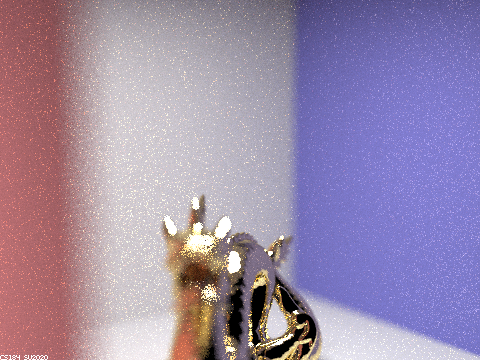
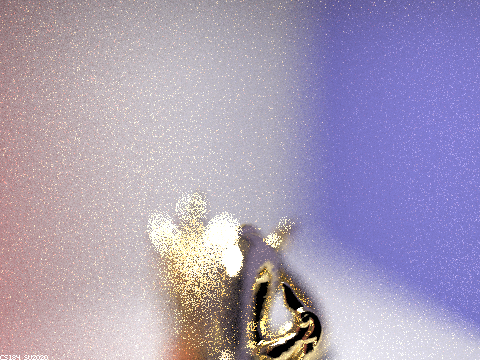
Show a sequence of 4 pictures with visibly different aperture sizes, all focused at the same point in a scene. Make sure to include all screenshots.
Focusing points/area is the middle part towards the tail of dragon
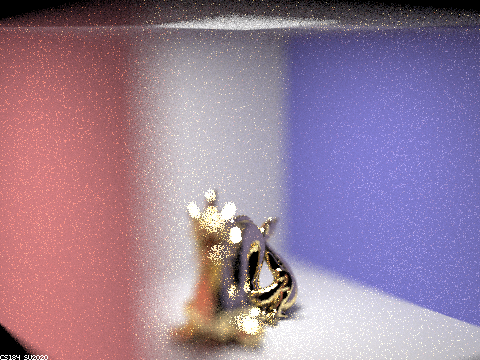
|
|
|
|